
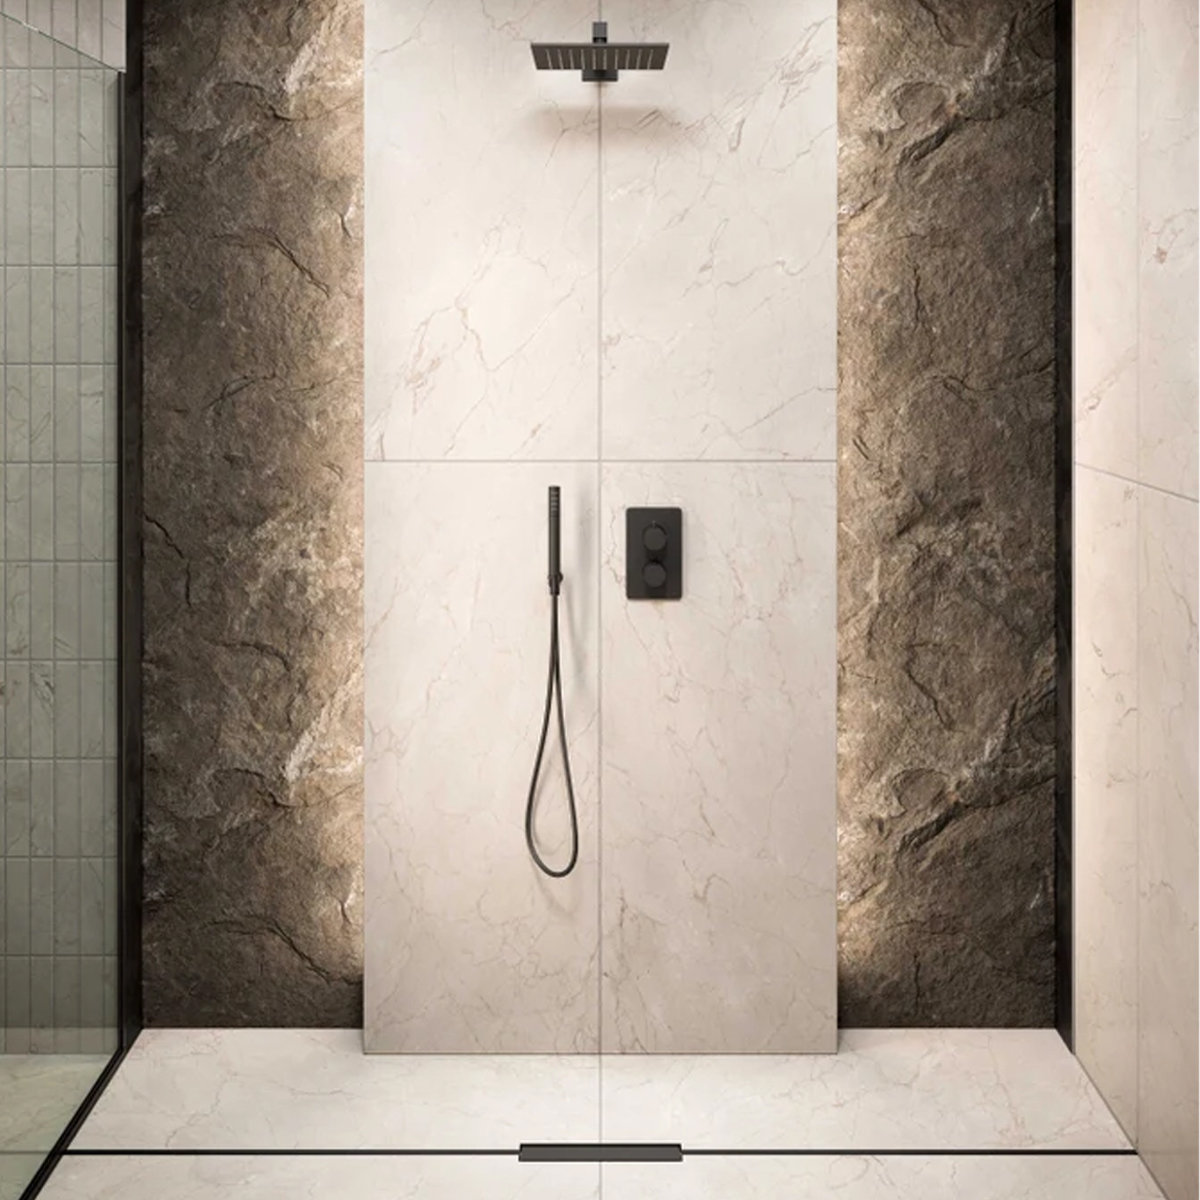
The contemporary wetroom is the ultimate expression of modern bathroom architecture. By removing traditional step-in trays and bulky enclosures, a wetroom unifies the floor plane, instantly creating a sense of boundless space and seamless structural flow. However, executing a flawless walk-in shower zone requires looking beyond beautiful surface tiling. Industry best practice demands focusing heavily on the hidden engineering—the sub-floor gradients, high-performance backerboards, and advanced tanking procedures that ensure absolute watertight security.
The Foundation: Pre-Formed Trays and Backerboards
The most critical element of an open-plan wetroom is how water is guided away from the showering space. Creating a natural slope on-site using traditional sand and cement is notoriously unpredictable. To ensure a structurally perfect water flow, modern high-end specifications utilise precision-engineered, pre-formed wetroom trays hidden entirely beneath the tiles.
These high-density structural sub-floor trays feature a mathematically exact, factory-engineered gradient (or ‘fall’) that slopes directly toward the drainage channel. This guarantees that water moves rapidly toward the waste without ever pooling at your feet. To complement this base, standard plasterboard should be entirely discarded. Best practice dictates lining the walls and surrounding floors with high-density, cement-faced tile backerboards. These structural boards provide a completely rigid, dimensionally stable foundation that offers total moisture resistance, eliminating the risk of grout cracking or structural movement over time.
The Tanking Procedure: Creating an Impenetrable Envelope
Waterproofing a wetroom a process professionally known as tanking is a multi-layered precision discipline. Because water naturally finds the path of least resistance, the entire showering zone must be transformed into a single, continuous, monolithic watertight envelope before a single tile is laid.
A textbook specification relies on a high-performance liquid tanking system. The process begins by applying structural waterproof tape along every internal wall joint, floor-to-wall transition, and pipe penetration point. These architectural joints are the most vulnerable to micro-movements as a building settles. Once the reinforcement tape is locked down, a flexible liquid waterproofing membrane is applied across the entire surface area. This liquid cures into a seamless, rubberised barrier that actively flexes with a home’s natural expansion and contraction, delivering a permanent, 100% watertight seal that safeguards the property’s structural fabric.
Glass Installation: Defining Boundaries Comfortably
While a true wetroom can technically remain completely open, incorporating a minimalist glass screen dramatically improves the daily practicality of the room by protecting towels, cabinetry, and vanities from localised overspray.
To preserve the weightless aesthetic essential for high-end layouts, architectural best practice favours low-profile, frameless walk-in glass panels. These architectural screens can be anchored using slimline wall profiles concealed entirely within your tile grout lines, paired with elegant ceiling or wall-bracing bars. Specifying premium, easy-clean toughened safety glass ensures that water droplets slide off effortlessly, preventing the accumulation of stubborn limescale and keeping the space looking pristine with minimal upkeep.
Direct Drainage Choices: Subtle and Sophisticated
The final element of a successful wetroom plan is the visible drainage hardware. Modern luxury design favours low-profile channels that blend seamlessly into the floor tiling layout:
- Linear Slot Drains: An elegant, long-profile drainage channel positioned either against the back wall or at the entrance of the showering zone. It handles high water volumes effortlessly, making it perfect for pairing with large, high-flow overhead deluge systems.
- Tile-Insert Grates: The ultimate option for absolute minimalism. This system allows a piece of the matching floor tile to be set directly into the drain cover, leaving only a slim, discreet perimeter shadow gap visible for water to escape into. The drain practically disappears into the floor plane.
Wetroom Specification Summary Checklist
When reviewing your wetroom project plans with an interior designer or contractor, ensure these core layout parameters are locked in:
- Verify the Structural Floor Type: Ensure the contractor selects the correct pre-formed tray configuration matched directly to the home’s specific floor type (timber joists versus solid concrete screeds).
- Specify the Tanking Boundaries: Always extend the liquid tanking envelope at least one metre beyond the active showering spray zone to handle humidity and damp footprints safely.
- Coordinate Project Timelines: Remember that sub-floor preparation, tray recessing, and membrane curing require dedicated first-fix plumbing time before finishing tiling trades arrive on-site.